Getting started with JupyterLab
This is an individual exercise. Remaining exercises will be done as a team.
Explore JupyterLab features.
⚙️ Get set up
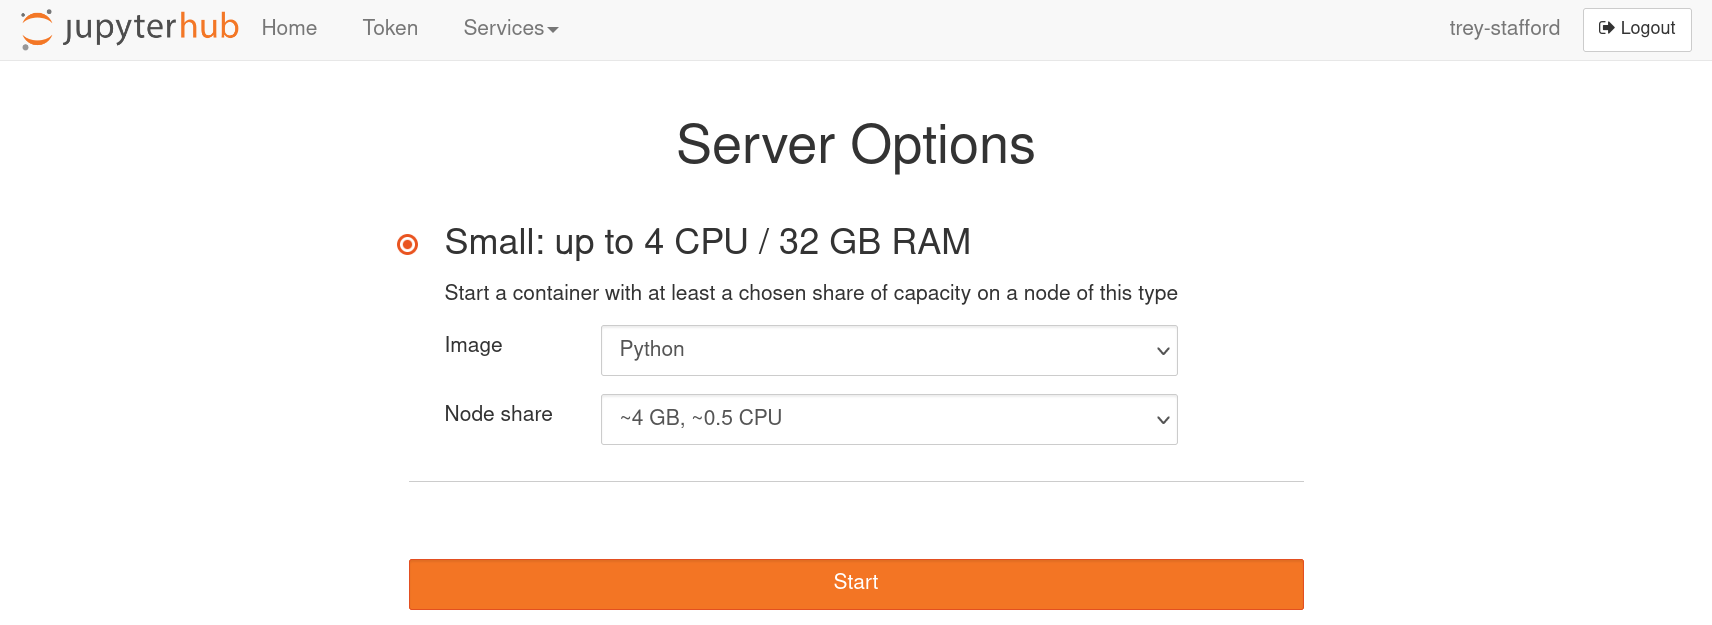
- Log in to the CryoCloud JupyterHub with your GitHub username
- Select the Python Image with a 4GB node share
Run the sync script to setup your working environment for the workshop. Open a Terminal in JupyterLab and run the following:
/home/jovyan/shared/QGreenland/sync.sh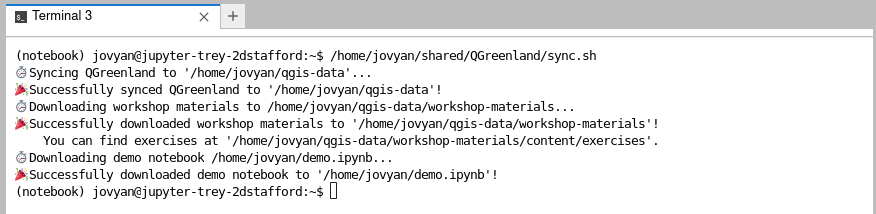
Run the sync.shscript
Explore JupyterLab
Complete the following tasks. While doing so, take time to explore and become familiar with the JupyterLab interface.
🗺️ Open QGreenland with QGIS in JupyterLab
Open a new tab in the JupyterLab GUI.
Select “Desktop”.
On first launch, select “Use default config”:
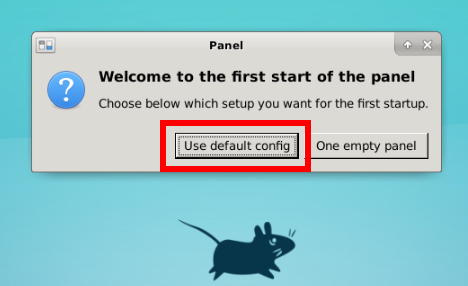
Use default config Open QGIS from the desktop icon.
Open QGreenland from
/home/jovyan/qgis-data/QGreenland_v3.0.0alpha2/.Explore QGreenland layers and turn on some layers.
Consider saving your own version of the project file (e.g., /home/jovyan/qgis-data/QGreenland_v3.0.0alpha2/qgreenland_personal.qgs) so that you can make and save changes to e.g., layer order and symbology without overwriting the original project file.
🧪 Try out a Notebook
- Run the example notebook from the Intro to JupyterLab slides.
Open the
demo.ipynbnotebook from your CryoCloud home directory (/home/jovyan/demo.ipynb) by double-clicking on it in the JupyterLab File Browser.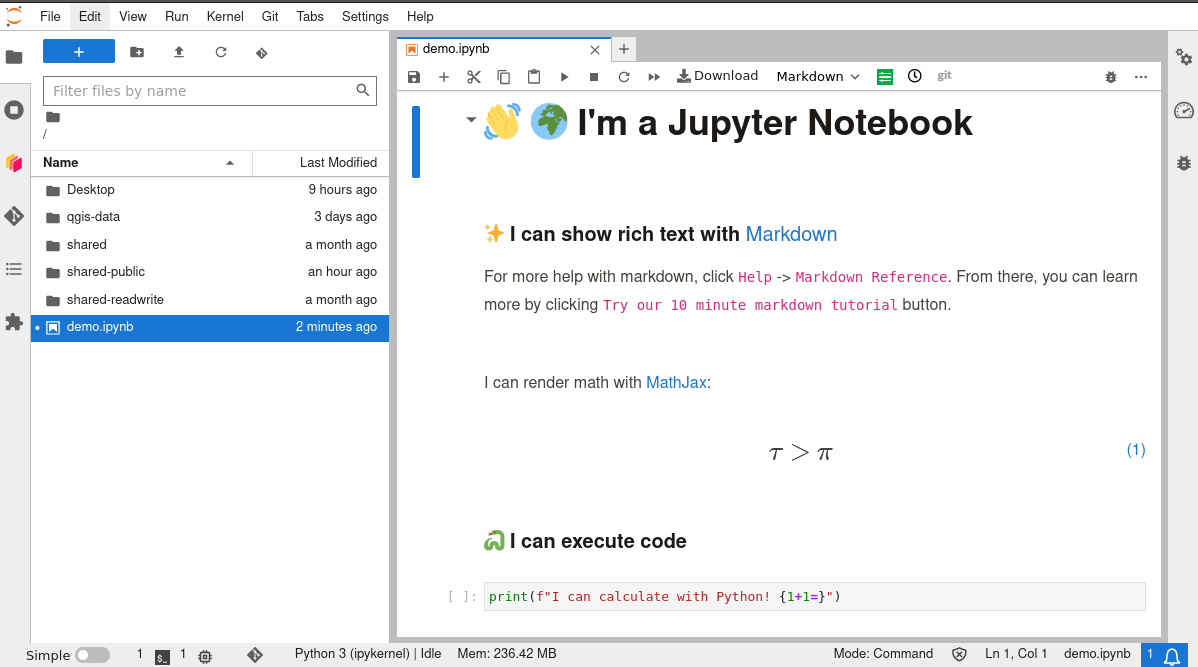
Click “Run -> Run all cells”
When complete, you should see a map with QGreenland highlighted in red.
- Change the color of the Greenland shape in the last cell of the notebook and re-render.
- Try changing other map parameters in the last cell of the notebook. Can you change the map’s projection?